Saturday, December 31, 2016

The Galley Flat and Hatch Lid

As mentioned before, the rear of the camper is the galley, or camp kitchen.  This is created by attaching a flat floor-like piece to connect the hatch part of the shell to the previously installed bulkhead to create the galley space.  Like everything until this point, it is installed upside down.  For added stability and stiffness, four pieces of wood are glued directly to the underside of the galley flat.  These give it much more durability and strength as they serve to reduce the fluctuations caused by pressure in the normal use of the table in the galley.


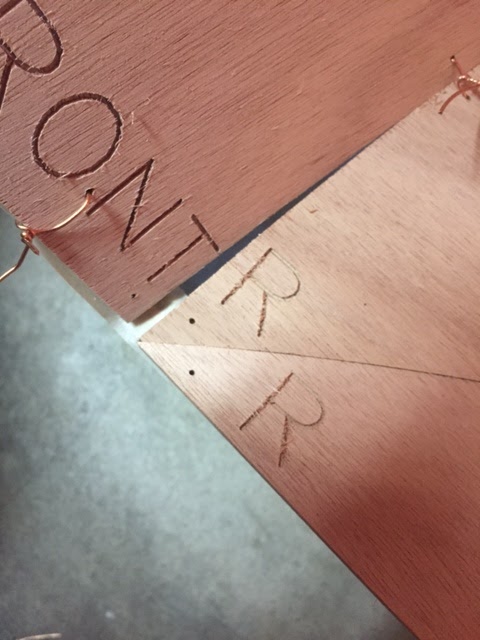
Finding the right pieces...


We had to learn a new gluing technique to attach the four galley stiffeners.  Instead of mixing the epoxy with wood flour, we now mix it with a different substance called Cell-O-Fill.  It is a white powder substance (also inert) that produces a product very similar in appearance to white Elmer's superglue - albeit much, much stronger!  This is then spread along the surfaces to be mated.


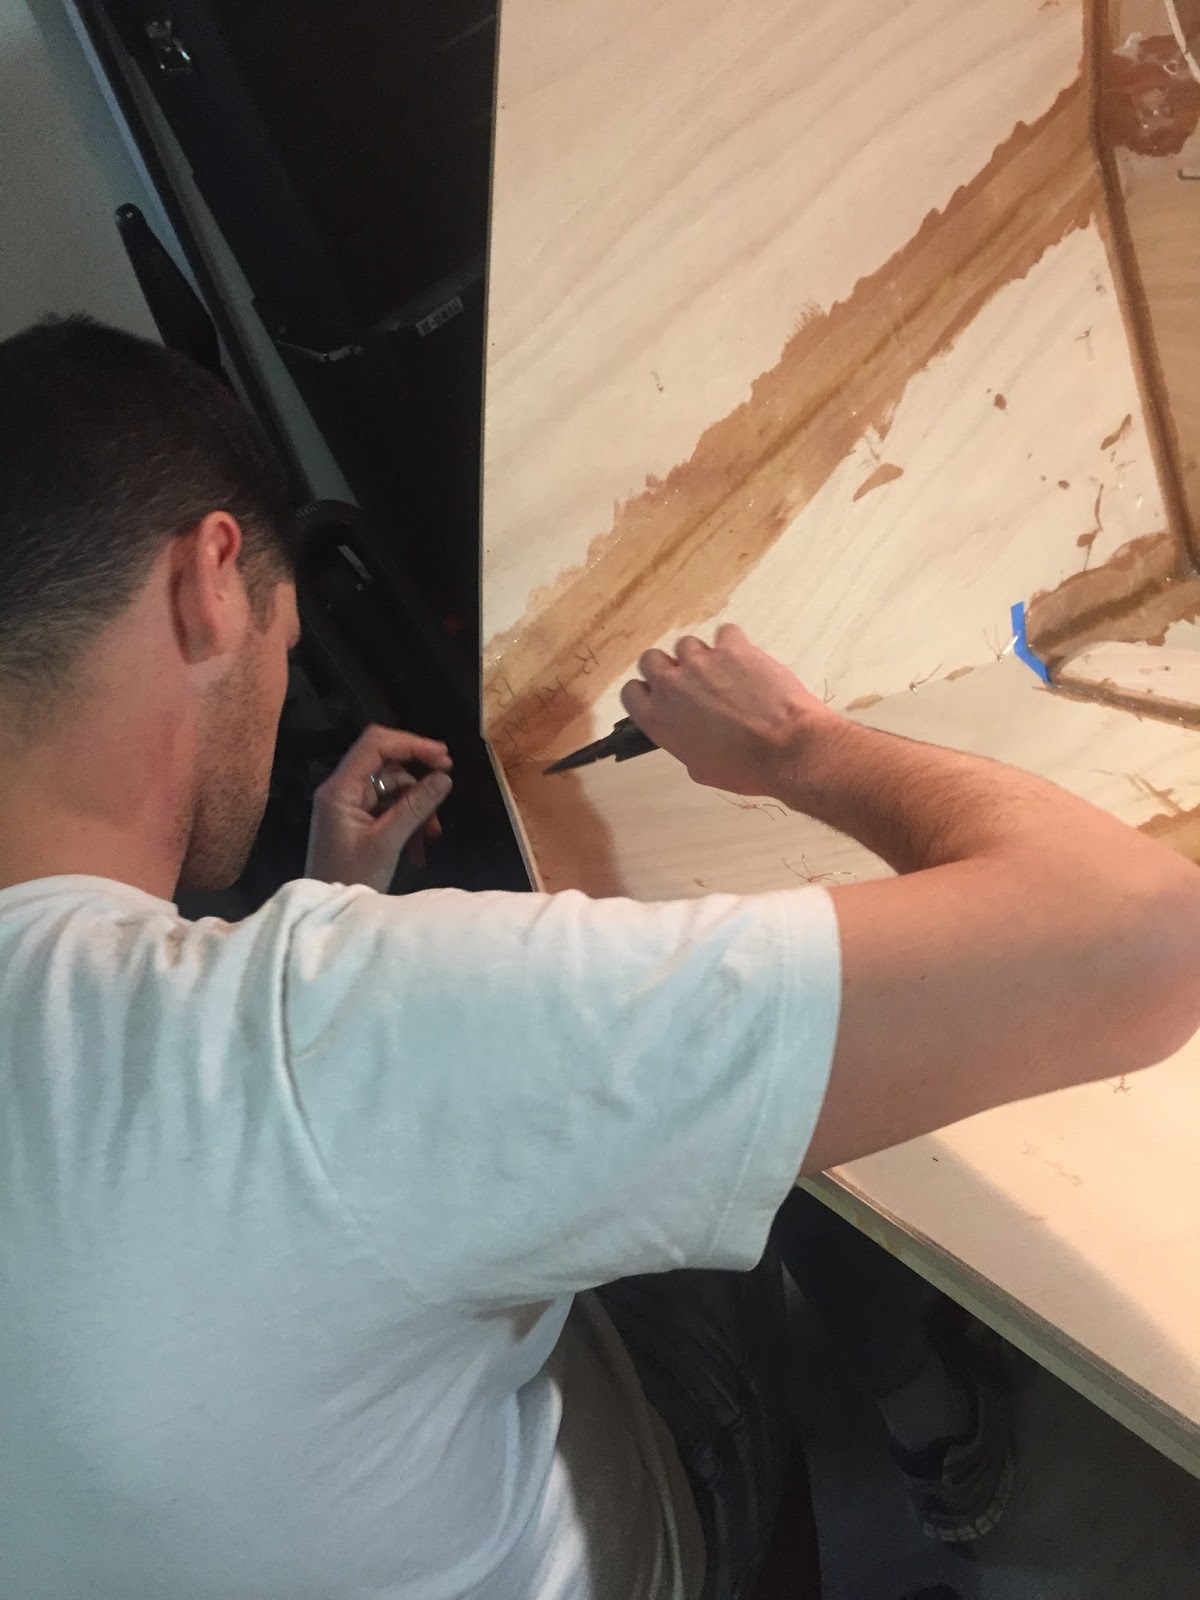
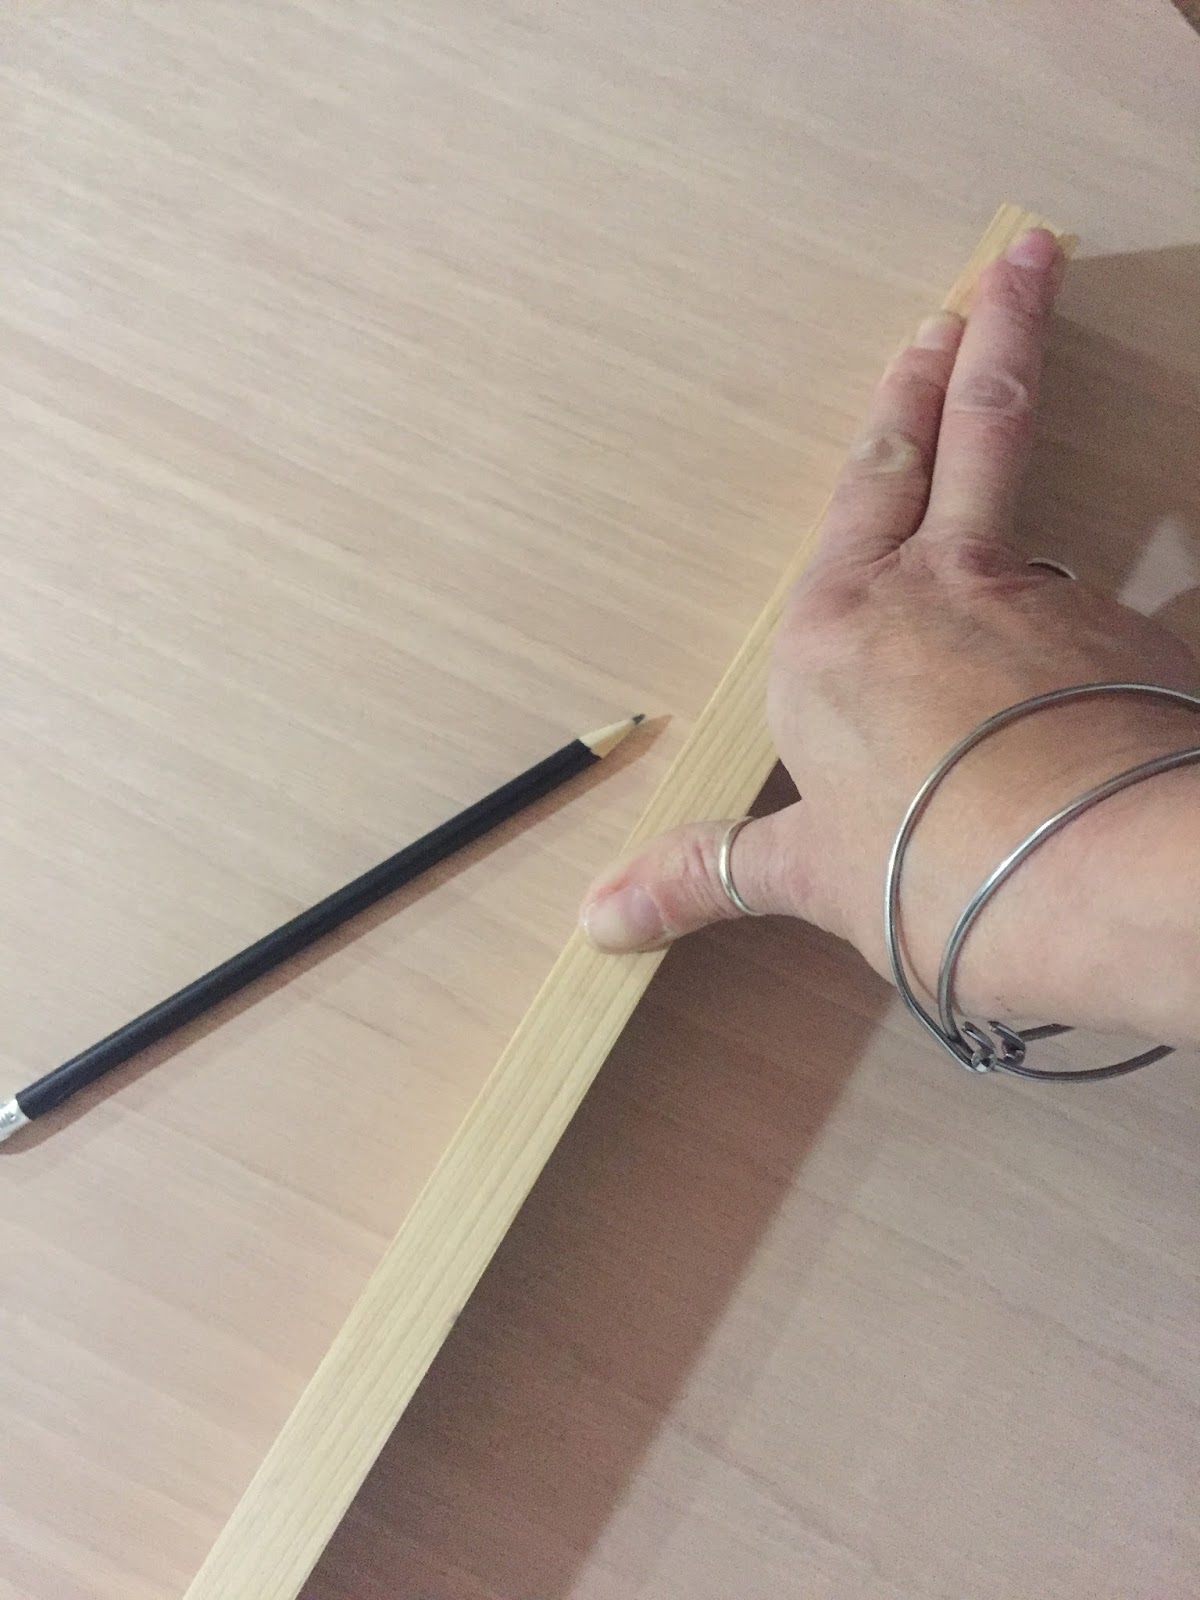
Marking out where the stiffeners go.  We cut the ends at 45 degrees to make it easier to sand and remove the sharp edges.  These stiffeners will be immediately above our legs. We glued them with the help of a few tool boxes and gym weights:


While the stiffeners' glue dried, we also added a a thin strip of wood along the rear shell which complete the lid of the galley hatch.  These were wired and then glued with wood flour.


The galley flat slid into place easily with just a little sanding required.  It was a little scary hearing the creak of the structure as we got it into it's place.


Ultimately it went in with very little problem.  With the galley flat secured with wood flour epoxy, there is much sanding to do to smooth out the fillets... This section is will be be covered in layers of clear epoxy (no fiberglass).


Galley flat installed.  This creates the galley (underneath) and the legroom.

Resuming construction! The Bulkhead

Holy cow... almost a month since an update!  Work was temporarily put on hold after a week vacation to Colorado and a weekend of temperatures in the teens.  We've driving hard to make up time...


The next step was adding the main bulkhead into the interior of the camper.  Taken from the nautical terminology, a bulkhead is simply a vertical barrier to separate compartments - a wall.  In our case, this bulkhead separates the main sleeping compartment with what will become the galley.  We used epoxy to glue three puzzle joint pieces together to create the bulkhead:


Following closely behind is another piece called a stiffener, which provides rigidity to the hatch of the galley - aptly named the galley hatch stiffener - which is presently still a part of the shell and will be cut out in a later step.  Both the bulkhead and the stiffener are wired to the shell and attached permanently with wood flour epoxy.


Here, you can see the bulkhead installed with the galley stiffener immediately in front of the bulkhead:
Bulkhead installed.  It was a tight fit and required some sanding.
Galley hatch stiffener installed and everything filleted with wood flour. Score!


Tuesday, December 6, 2016

The goal!

The camper in this particular photo belongs to another customer (I borrowed this picture from CLC's website), but it looks very close to our desired end-state (including the solar panels to power electronics).


Below is the new official CLC promo video for the camper.

https://www.youtube.com/watch?v=Ref_JnT8QVY

Days Six and Seven - Adding the side panels


Just like the last post, this entry covers several days worth of work although it all covers one step.  Here, we join two side panels along each side to the roof panels to form a (generally) three-sided structure.  Below is the step from the book:


Here is an close view of the copper wire which are used to make the stitches (and the twisted stitch).  These are inserted into factory drilled holes and then twisted to hold the form to the mold or connect two panels to a seam.


This twisting technique was used to attach the side panels to the roof panels below.  Each side is two separate panels.  Each panel is stitched to the mold frame and to each other.  The same technique we used in the last post will be used here.  More peanut butter epoxy layered with fiberglass and more epoxy!  Below you can see the panels stitched into the mold, but we still have some work to attach them to each other.

OK, the first real snag... We have three panels meeting at an extreme awkward angle which all have to connect.  Until this point, all the panels have fit snugly with no problems.  As you can see, there is a significant gap between the panels which needs a solution.  Unfortunately, the manual (affectionately referred to as the "hymnal") does not mention anything about this contingency.


After considering using the wood flour fillet to bridge the gap, we had the bright idea to shim the panels to hold the connection while we tack welded the seams (we credit our Crisis Manager keeping us cool).

"Bro, use the extra cardboard in the corner to shim the panels. Keep it together, man! 


Brilliant!

More sanding of the tack-welds and adding fiberglass along the seams...

"I told you it would work."


Finished this step.  All pieces are in place and fiberglass has hardened with no gaps in any seams.  Nice work!  You may notice two pieces of blue painter's tape marking the end some fiberglass work.  These mark the place with the shell will open (like a hatchback on a car) to provide access to the galley.  It may be hard to conceptualize from the photo.


Monday, December 5, 2016

Day Three to Five - Stitching the shell

OK, so this entry covers several days' worth of work but it is all one step of the camper construction.  This is the step out of the manual:


The puzzle joints went together nicely!  The cured epoxy made the fiberglass tape completely hard and stiff.  The tape has to be sanded and the excess fiberglass has to be cut off to make the edge smooth.


The next step is to then fit these panels into the frame mold.  To do this, we fold the panels over onto each other and stitch them together with copper wire. Then to install them, we open them up like a book.  So, we now get to our very first stitch with the copper wire!


The Okoume plywood is flexible enough to bend into shape.  The #1 panels form the very top roof of the camper with a seam in the middle.  The #2 panels (on the sides) also form part of the roof, but are set at a slightly steeper angle to meet the sides which will be installed later.  #1 and #2 are then stitched together with copper wire.  In order to hold the shape we need, the panels are stitched directly to the mold itself to help the panels keep the necessary angles.


Inspecting the premises for crises - everything seems fine...but be careful! :)


The challenge now is to seal the seams with fiberglass and epoxy, just as we sealed the puzzle joints.  Obviously, we cannot overlay fiberglass into the copper stitches, so we use more drops of superglue in between the wire stitches.  The stitches along the seams are removed and the superglue drops sanded smooth to ensure less air bubbles and a good epoxy bond.

 After sanding, the seams are primed with some epoxy.  This helps the fiberglass tape stay in place.


Ok, now things get interesting. Epoxy is a very cool substance.  Up until this point we have used pure epoxy resin mixed with hardener which forms a clear adhesive. However, in this project we will mix the epoxy with inert substances to form different adhesives for different purposes.  To completely seal the seams, the epoxy is mixed with wood flour to form a sort of mixture with the consistency of peanut butter.


This peanut butter epoxy gives the epoxy different composition.  This is squeezed and pressed into the seams using a tool that looks like a fat tongue depressor.  This technique is known as a fillet (pronounced fill-it, not fill-ay). The wood flour does not give the epoxy any different chemical properties, but it is necessary to fill in the seams to lessen the angle the fiberglass has to seal. All the fiberglass tape is then soaked with pure epoxy resin and left to harden overnight.


Finished for this step!  As I said before... this entry covers several days worth of work.  It took one day to stitch the pieces together with all the copper wire.  Then a second day to mix the wood flour with the epoxy and soak the fiberglass.