


We had to learn a new gluing technique to attach the four galley stiffeners. Instead of mixing the epoxy with wood flour, we now mix it with a different substance called Cell-O-Fill. It is a white powder substance (also inert) that produces a product very similar in appearance to white Elmer's superglue - albeit much, much stronger! This is then spread along the surfaces to be mated.


Marking out where the stiffeners go. We cut the ends at 45 degrees to make it easier to sand and remove the sharp edges. These stiffeners will be immediately above our legs. We glued them with the help of a few tool boxes and gym weights:


While the stiffeners' glue dried, we also added a a thin strip of wood along the rear shell which complete the lid of the galley hatch. These were wired and then glued with wood flour.


The galley flat slid into place easily with just a little sanding required. It was a little scary hearing the creak of the structure as we got it into it's place.


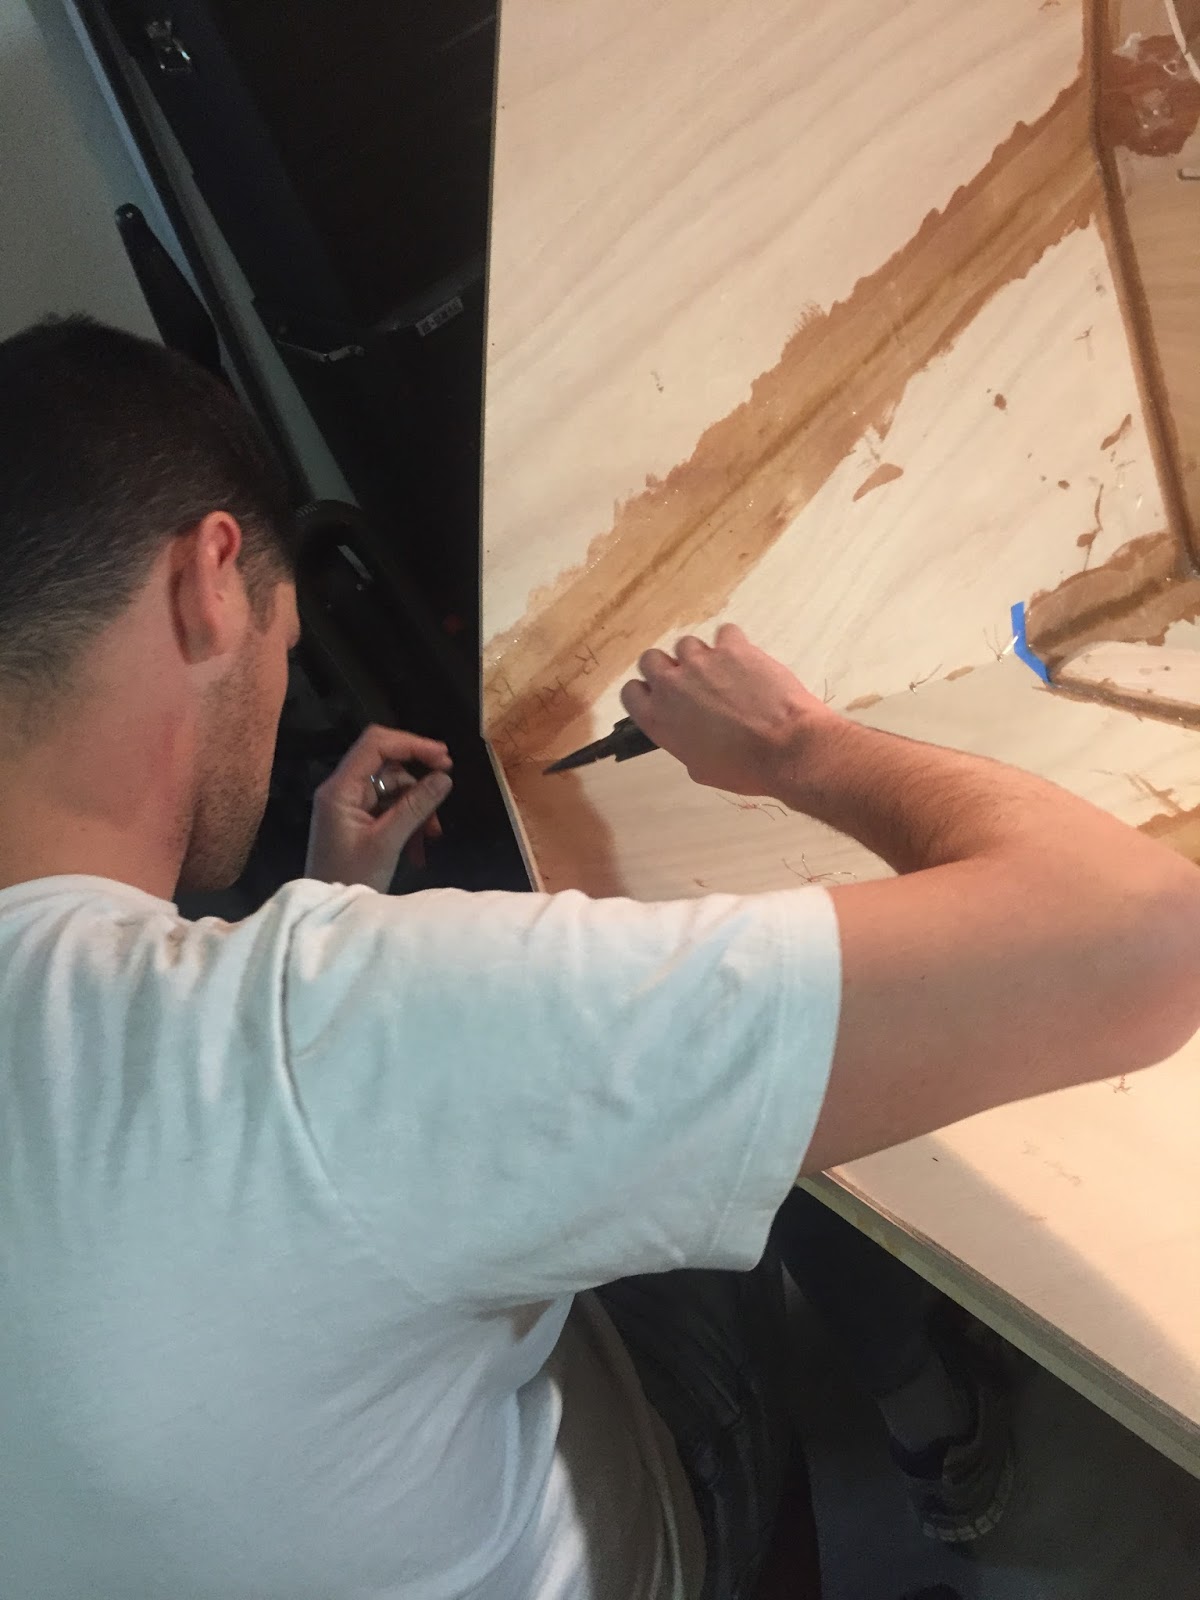
Ultimately it went in with very little problem. With the galley flat secured with wood flour epoxy, there is much sanding to do to smooth out the fillets... This section is will be be covered in layers of clear epoxy (no fiberglass).


 |
| Galley flat installed. This creates the galley (underneath) and the legroom. |
No comments:
Post a Comment