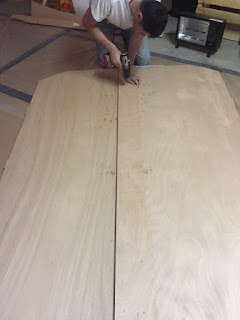
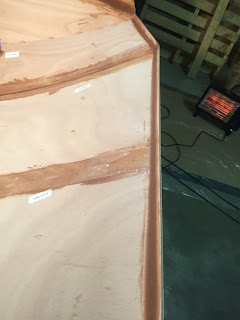
Ok, now the hard part... fitting the floor onto the shell in preparation for glue. Now, we don't actually connect the two pieces together just yet. We will temporarily attach the floor using screws so we can flip the camper right side up, and permanently epoxy it into place from the inside!
To start we lift the floor onto to shell and brace it with some scrap wood for a visual inspection. Everything looks okay...
 |
| Just a little sanding of the shell edge to remove any dried epoxy goop |
The best part about this process is that we now get to remove the
first part of the mold that is holding the camper in shape! Only a few
more steps and the entire shell will be free of the mold!

Crisis!! The tabs on the floor piece are not thick enough for the slots they fit into... Hmmm... If we allow them to sit all the way down, the shell will over hang the floor and possibly cause problems when we mount it to the trailer, and if we make the floor flush, there is a gap. What to do??
 |
| Too much overhang |
 |
| Gap! |
We reached out to CLC for an answer... To summarize their response: the slots are manufactured larger that necessary to accommodate variance in construction between sides. Basically, if the floor is warped or isn't completely flat, or the shell isn't properly positioned the larger slots allow one side to be flush and another to have a gap. In our case, the problem exists around the entire circumference of the camper.
According to the CEO, John Harris, "most shell assemblies aren't as tight and precise as yours." Yes, we were just complimented on our construction by the CEO who designed this camper (oh please, do go on...! ;) Bottom line, there is no ramifications for either an overhang or not.
Enter the Crisis Manager...
 |
| "Dude, measure the difference and make a shim for each of the tabs to hold the floor flush with the shell so you can screw it in place. Then fill in the gaps with wood flour!" |
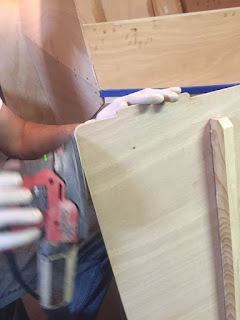
So that's what we did. Shims allowed us to screw the floor piece into place. Using some more thickened epoxy, the gaps were filled in and will actually act as an additional method to hold the floor to the shell while we flip it over. We used scrap wood with a cardboard spacer in between to protect the shell from scratches, as recommended.
You will note the gap in the next photo between the floor and the shell
wall. This is the only part which had such a gap. the rest fit almost perfectly. We only had to do some minor cutting to the tabs in certain areas to ensure a slip fit. This is the front of the camper, and the shell walls are very
flexible. We pushed them into place easily.
Looks pretty sweet!


