Saturday, December 31, 2016

Fitting the floor to the shell and a Crisis!

Ok, now the hard part... fitting the floor onto the shell in preparation for glue.  Now, we don't actually connect the two pieces together just yet.  We will temporarily attach the floor using screws so we can flip the camper right side up, and permanently epoxy it into place from the inside!  

To start we lift the floor onto to shell and brace it with some scrap wood for a visual inspection. Everything looks okay...


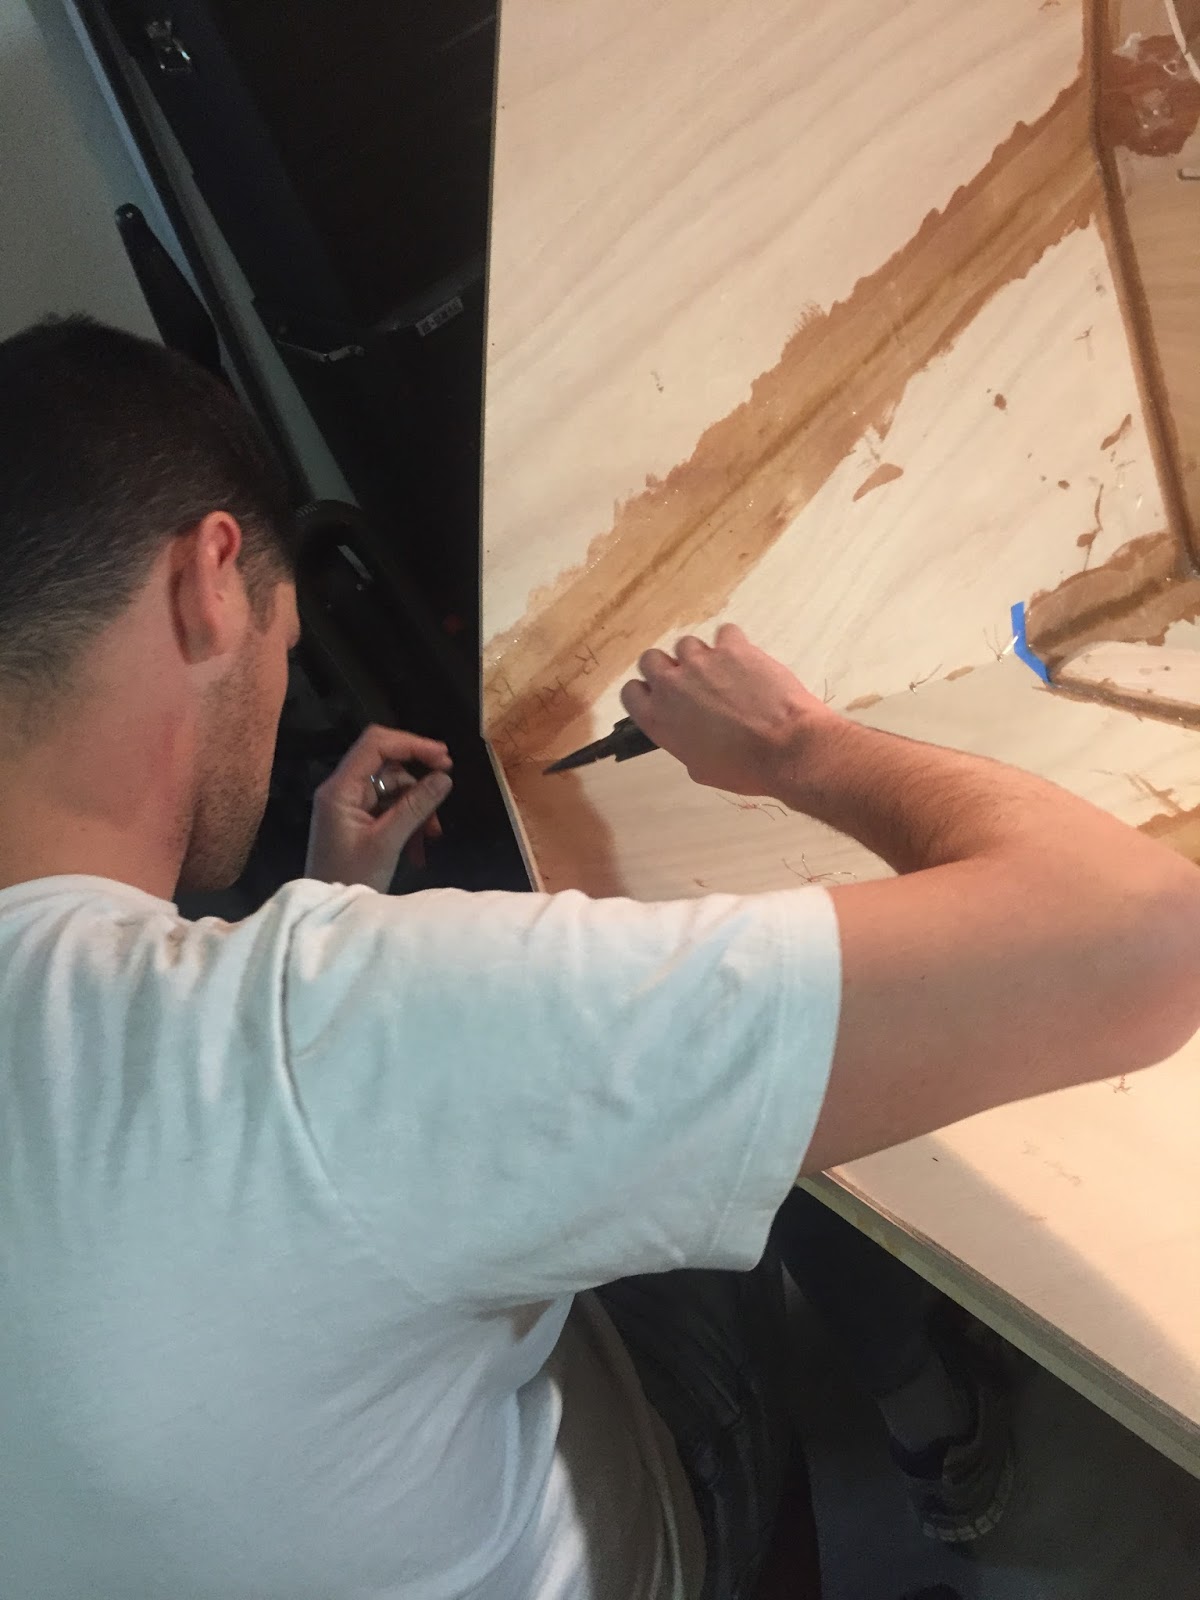
Just a little sanding of the shell edge to remove any dried epoxy goop

The best part about this process is that we now get to remove the first part of the mold that is holding the camper in shape!  Only a few more steps and the entire shell will be free of the mold!


Crisis!!  The tabs on the floor piece are not thick enough for the slots they fit into... Hmmm... If we allow them to sit all the way down, the shell will over hang the floor and possibly cause problems when we mount it to the trailer, and if we make the floor flush, there is a gap.  What to do?? 

Too much overhang

Gap!
We reached out to CLC for an answer... To summarize their response: the slots are manufactured larger that necessary to accommodate variance in construction between sides.  Basically, if the floor is warped or isn't completely flat, or the shell isn't properly positioned the larger slots allow one side to be flush and another to have a gap.  In our case, the problem exists around the entire circumference of the camper.

According to the CEO, John Harris, "most shell assemblies aren't as tight and precise as yours."  Yes, we were just complimented on our construction by the CEO who designed this camper (oh please, do go on...! ;)  Bottom line, there is no ramifications for either an overhang or not. 

Enter the Crisis Manager...

"Dude, measure the difference and make a shim for each of the tabs to hold the floor flush with the shell so you can screw it in place.  Then fill in the gaps with wood flour!"

So that's what we did.  Shims allowed us to screw the floor piece into place.  Using some more thickened epoxy, the gaps were filled in and will actually act as an additional method to hold the floor to the shell while we flip it over.  We used scrap wood with a cardboard spacer in between to protect the shell from scratches, as recommended.


You will note the gap in the next photo between the floor and the shell wall.  This is the only part which had such a gap.  the rest fit almost perfectly.  We only had to do some minor cutting to the tabs in certain areas to ensure a slip fit.  This is the front of the camper, and the shell walls are very flexible.  We pushed them into place easily. 


  Looks pretty sweet! 


Creating the Floor Piece

Now to start the largest (and heaviest) part of the project to date:  the floor.  It is about four times as thick as any other wood piece thus far.

It is also so big we had to expand our work area by laying down more cardboard and plastic sheeting. 

Naturally, the surface area of the floor is larger than can be shipped in one piece, so we have to glue two pieces with more Cell-o-fill and and secure them together with the aid of screws through what is known as a "butt block".  Ideally, the screws will come out after the glue hardens, but we will see... Here the floor is assembled and left to cure for 24 hours.

Securing the butt block with screws.
Butt block weighed down to aid the curing glue
The next step is to cover the sleeping area with epoxy, same as the galley flat.  According to the manual, we should leave a two inch margin along the edges.  This will help ensure the strongest possible bond to the shell when we add a fillet.  We used masking tape.  Cool.


We rolled the epoxy on with paint rollers, then sanded.  Then another layer of epoxy, followed by more sanding.  Then the final layer we tipped out the bubbles with a brush.  The whole process took about three days to allow the epoxy layers to harden enough to sand and wipe clean before applying the next layer.

While curing each layer, we had to protect it by covering it with plastic sheeting.  Here, the Crisis Manager inspects our work...


The picture on the left is after the second coat, the one on the right is the final product.  Smooth and very nice!  Go us!


Quarter Panels and Epoxy work

Following the galley flat, we finalized this section with the installation of the quarter panels, sections adjacent to the rear panel.


Letting the epoxy fillets cure overnight
We rolled the epoxy on using a small paint roller and smoothed out the air bubbles (called "tipping") with a hand brush.


While the epoxy is clear - and dries clear - it results in a almost a "wet finish" look and really brings out the color and grain of the Okoume wood.  These pictures below are the first mass application of epoxy we have done, and it looks fantastic and is very smooth!  Again, the camper is still upside down.  From this vantage point, this section is part of the main sleeping compartment, with the strips of stiffener forming the "roof" of the leg room.


Completed galley flat after some sanding and three layers of epoxy!
Not too shabby!


The Galley Flat and Hatch Lid

As mentioned before, the rear of the camper is the galley, or camp kitchen.  This is created by attaching a flat floor-like piece to connect the hatch part of the shell to the previously installed bulkhead to create the galley space.  Like everything until this point, it is installed upside down.  For added stability and stiffness, four pieces of wood are glued directly to the underside of the galley flat.  These give it much more durability and strength as they serve to reduce the fluctuations caused by pressure in the normal use of the table in the galley.


Finding the right pieces...


We had to learn a new gluing technique to attach the four galley stiffeners.  Instead of mixing the epoxy with wood flour, we now mix it with a different substance called Cell-O-Fill.  It is a white powder substance (also inert) that produces a product very similar in appearance to white Elmer's superglue - albeit much, much stronger!  This is then spread along the surfaces to be mated.


Marking out where the stiffeners go.  We cut the ends at 45 degrees to make it easier to sand and remove the sharp edges.  These stiffeners will be immediately above our legs. We glued them with the help of a few tool boxes and gym weights:


While the stiffeners' glue dried, we also added a a thin strip of wood along the rear shell which complete the lid of the galley hatch.  These were wired and then glued with wood flour.


The galley flat slid into place easily with just a little sanding required.  It was a little scary hearing the creak of the structure as we got it into it's place.


Ultimately it went in with very little problem.  With the galley flat secured with wood flour epoxy, there is much sanding to do to smooth out the fillets... This section is will be be covered in layers of clear epoxy (no fiberglass).


Galley flat installed.  This creates the galley (underneath) and the legroom.

Resuming construction! The Bulkhead

Holy cow... almost a month since an update!  Work was temporarily put on hold after a week vacation to Colorado and a weekend of temperatures in the teens.  We've driving hard to make up time...


The next step was adding the main bulkhead into the interior of the camper.  Taken from the nautical terminology, a bulkhead is simply a vertical barrier to separate compartments - a wall.  In our case, this bulkhead separates the main sleeping compartment with what will become the galley.  We used epoxy to glue three puzzle joint pieces together to create the bulkhead:


Following closely behind is another piece called a stiffener, which provides rigidity to the hatch of the galley - aptly named the galley hatch stiffener - which is presently still a part of the shell and will be cut out in a later step.  Both the bulkhead and the stiffener are wired to the shell and attached permanently with wood flour epoxy.


Here, you can see the bulkhead installed with the galley stiffener immediately in front of the bulkhead:
Bulkhead installed.  It was a tight fit and required some sanding.
Galley hatch stiffener installed and everything filleted with wood flour. Score!